Can Brad Nails Be Used For Finishing? The Ultimate Guide To Nail Gun Mastery
Let’s face it, folks—finishing projects can be a real headache if you don’t have the right tools or knowledge. And when it comes to using brad nails for finishing, the debate is as heated as a summer day in Texas. But here’s the deal: brad nails might just be your secret weapon in creating smooth, polished, and professional-looking finishes. So, buckle up because we’re diving deep into the world of brad nails and uncovering whether they’re the ultimate finishing solution.
You might be wondering, “What’s all the fuss about brad nails?” Well, my friend, these tiny yet mighty nails are designed to do big things. They’re perfect for delicate woodwork, trim jobs, and even cabinet assembly. But can they really handle the pressure of finishing work? That’s what we’re here to find out.
Before we jump into the nitty-gritty, let’s set the record straight. This guide isn’t just some random rambling—it’s packed with expert advice, practical tips, and real-world examples. Whether you’re a seasoned pro or a DIY newbie, this article will give you the confidence to tackle your next finishing project like a boss.
Read also:First National Pawn The Rise Of A Timeless Institution
Understanding Brad Nails: The Basics
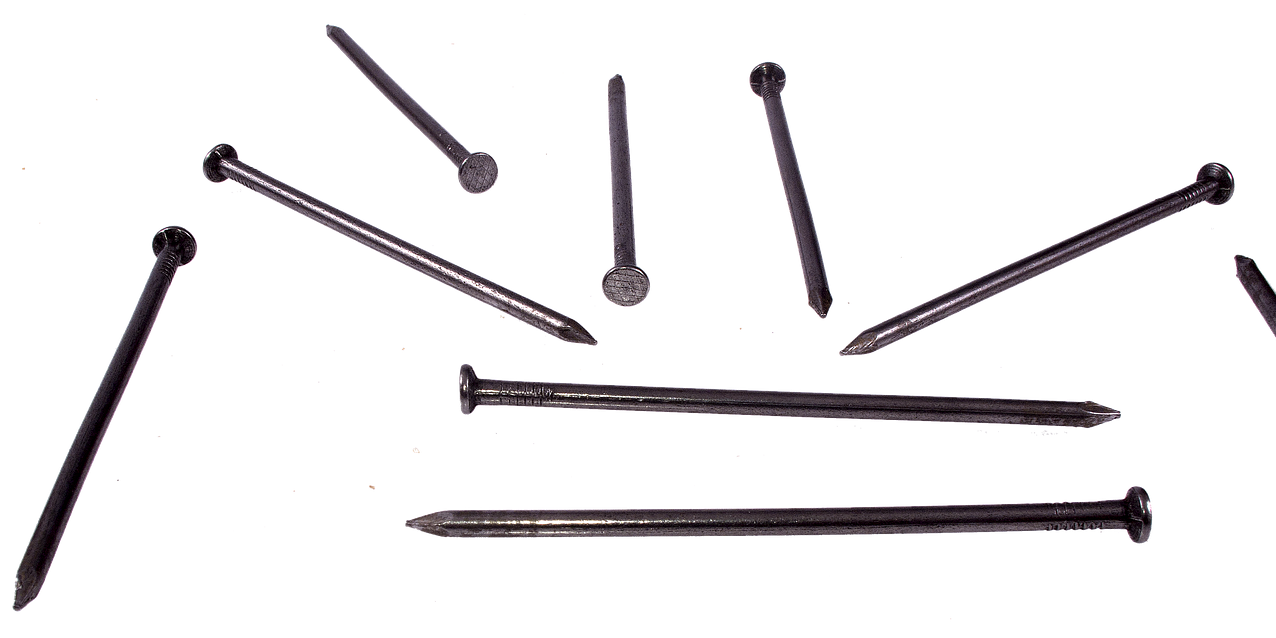
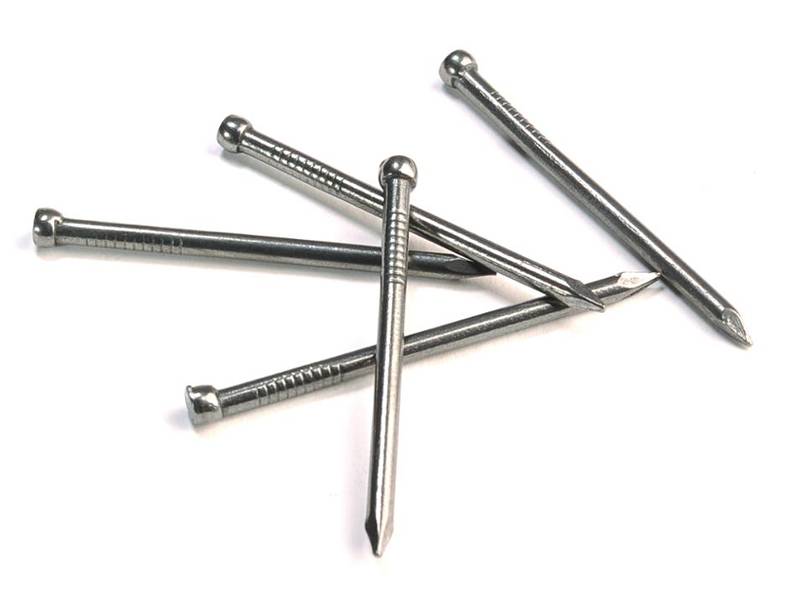
First things first, let’s break down what brad nails actually are. Brad nails are small, thin nails that typically range from 18 to 23 gauge. They’re usually between 5/8 inch and 2 inches in length, making them perfect for delicate applications. These nails are often used in pneumatic nail guns, which means they’re driven into wood with compressed air. Pretty cool, right?
Brad nails are favored for their ability to create a clean, almost invisible finish. Because they’re so thin, they’re less likely to split wood, which is crucial when working with delicate materials. Plus, they’re ideal for projects where aesthetics matter, like crown molding, baseboards, and furniture assembly.
Can Brad Nails Handle Finishing Jobs?
Now, here’s the million-dollar question: can brad nails be used for finishing? The short answer is yes—but with a few caveats. Brad nails are fantastic for light-duty finishing tasks, such as attaching trim, securing decorative moldings, and assembling small furniture pieces. However, they may not be the best choice for heavy-duty projects that require more holding power.
Think of brad nails as the lightweight boxer in the ring. They’re quick, agile, and precise, but they don’t pack the same punch as their beefier counterparts, like finish nails or screws. That said, if you’re working on a project that doesn’t require extreme strength, brad nails can absolutely get the job done.
Why Brad Nails Are Ideal for Finishing
Let’s talk about why brad nails are so darn good for finishing jobs. Here are a few reasons:
- **Minimal Surface Damage:** Brad nails leave tiny holes that are easy to fill and sand, resulting in a seamless finish.
- **Precision Control:** With a brad nailer, you can place nails exactly where you need them, ensuring a clean and professional look.
- **Compatibility with Delicate Materials:** Whether you’re working with thin plywood, veneers, or intricate moldings, brad nails won’t damage the material.
- **Fast and Efficient:** Using a brad nailer can save you tons of time compared to hand-nailing or using screws.
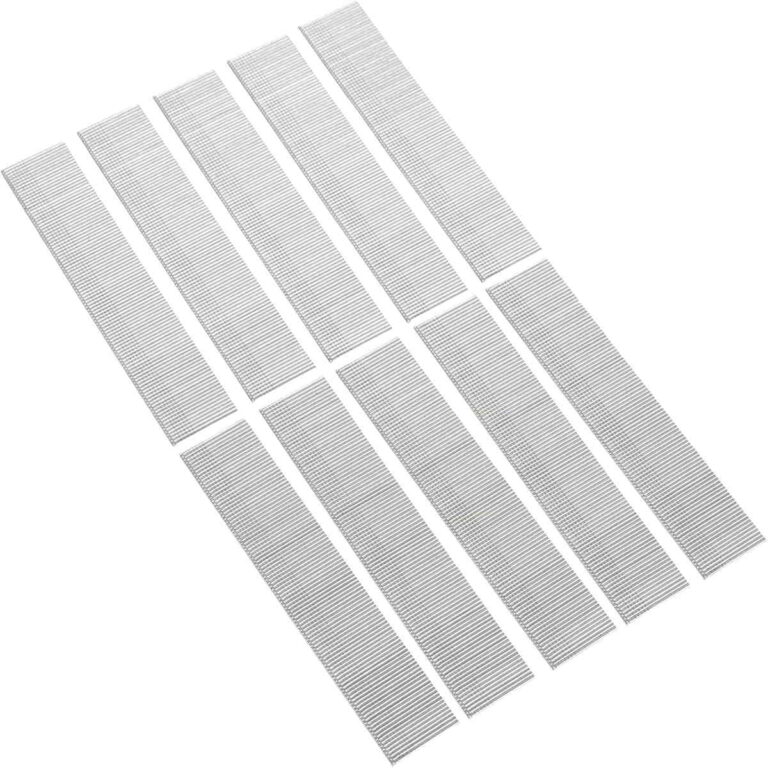
Types of Brad Nails: Know Your Options
Not all brad nails are created equal. Depending on your project, you’ll want to choose the right type of nail for the job. Here’s a quick rundown of the most common types:
Read also:Kagney Lynn Carter The Rising Star In The Adult Entertainment Industry
Gauge Sizes
Gauge refers to the thickness of the nail. The higher the gauge number, the thinner the nail. For finishing work, you’ll typically want to stick with 18-gauge or 23-gauge brad nails. These sizes offer a balance of strength and delicacy, making them perfect for most projects.
Coating Options
Brad nails come in various coatings, including:
- **Galvanized:** Ideal for outdoor projects or areas prone to moisture.
- **Nickel-Plated:** Offers a sleek finish and is resistant to corrosion.
- **Bright:** Uncoated nails that are great for indoor projects.
Tools You’ll Need for Brad Nail Finishing
Having the right tools is crucial for any project, and using brad nails for finishing is no exception. Here’s a list of essentials you’ll need:
Brad Nailer
A brad nailer is the heart and soul of your finishing toolkit. There are several types to choose from, including pneumatic, cordless, and battery-powered models. Each has its own pros and cons, so pick the one that best suits your needs.
Air Compressor
If you’re using a pneumatic brad nailer, you’ll need an air compressor to power it. Make sure your compressor has enough CFM (cubic feet per minute) to handle your nailer’s requirements.
Safety Gear
Safety first, folks! Always wear protective eyewear, ear protection, and gloves when using power tools. Trust me, you don’t want a brad nail flying back at you.
Step-by-Step Guide to Using Brad Nails for Finishing
Ready to put those brad nails to work? Follow these steps for a flawless finish:
Step 1: Prepare Your Workspace
Clear the area of clutter and ensure you have all your tools and materials ready. Double-check that your nailer is properly loaded and your compressor is set to the correct pressure.
Step 2: Mark Your Nail Points
Use a pencil to lightly mark where you want to place each nail. This will help you maintain consistency and avoid mistakes.
Step 3: Fire Away!
Hold the nailer perpendicular to the surface and squeeze the trigger. Apply even pressure to ensure the nail is driven flush with the surface.
Step 4: Fill and Sand
Once all the nails are in place, use wood filler to cover the holes. Allow the filler to dry, then sand the surface smooth for a polished look.
Common Mistakes to Avoid
Even the best of us make mistakes, but with a little know-how, you can avoid these common pitfalls:
- **Overdriving Nails:** Be careful not to drive the nails too deep, as this can weaken the material and create unsightly dimples.
- **Using the Wrong Gauge:** Always match the gauge of the nail to the thickness of the material you’re working with.
- **Neglecting Safety Gear:** Don’t skip the safety gear—your eyes and ears will thank you later.
Advantages of Using Brad Nails for Finishing
Let’s recap why brad nails are a game-changer for finishing projects:
- **Efficiency:** Brad nailers are fast and easy to use, saving you time and effort.
- **Precision:** With brad nails, you can achieve a level of precision that’s nearly impossible with hand tools.
- **Aesthetic Appeal:** The small size of brad nails ensures a clean, professional finish that’s perfect for visible areas.
When NOT to Use Brad Nails
While brad nails are great for many finishing tasks, there are situations where they might not be the best choice. For example:
- **Heavy-Duty Projects:** If you’re working on structural components or load-bearing areas, you’ll want to use stronger fasteners like screws or finish nails.
- **Thick Materials:** Brad nails may not penetrate deeply enough into thick wood, leaving you with a weak hold.
Conclusion: Are Brad Nails Right for Your Finishing Project?
So, can brad nails be used for finishing? Absolutely! As long as you choose the right gauge, use the proper tools, and follow best practices, brad nails can help you achieve stunning results. Whether you’re installing crown molding, assembling furniture, or tackling other finishing tasks, brad nails are a versatile and reliable option.
Now it’s your turn to take action. Grab your brad nailer, load up with the right nails, and start creating beautiful, professional finishes. And don’t forget to share your thoughts in the comments below or check out our other articles for more DIY tips and tricks. Happy building, folks!
Table of Contents
Understanding Brad Nails: The Basics
Can Brad Nails Handle Finishing Jobs?
Why Brad Nails Are Ideal for Finishing
Types of Brad Nails: Know Your Options
Tools You’ll Need for Brad Nail Finishing
Step-by-Step Guide to Using Brad Nails for Finishing
Advantages of Using Brad Nails for Finishing
Conclusion: Are Brad Nails Right for Your Finishing Project?
Article Recommendations