How To Take Off Press On Nails: A Step-by-Step Guide For Your Perfect Mani
Taking off press-on nails doesn’t have to be a nightmare. Whether you’re rocking a set of gel nails or simply experimenting with some at-home press-ons, knowing how to safely remove them is key to maintaining healthy nails. But hey, don’t stress—this guide’s got you covered! From essential tools to expert tips, we’ll walk you through everything you need to know about how to take off press-on nails like a pro.
Let’s face it, press-on nails are super convenient. No salon visits, no waiting around, and no expensive manicures required. But when it comes time to remove them, things can get tricky if you’re not prepared. That’s why we’re here—to make sure your nail removal process is as smooth as possible.
Now, buckle up because we’re diving deep into the world of DIY nail care. By the end of this article, you’ll have all the tools, tricks, and techniques needed to take off those press-on nails without damaging your natural nails. Let’s do this!
Read also:Andrew Lloyd Eaves The Untold Story Of A Rising Star In The Spotlight
Why Knowing How to Take Off Press-On Nails Matters
Here’s the deal: press-on nails are awesome, but they’re not permanent. Eventually, you’ll want to switch things up or let your natural nails breathe. The problem? If you yank them off without care, you could end up with broken nails, peeling skin, or even worse—pain. That’s why learning the right way to remove them is crucial.
Think of it like taking off a bandage. You don’t just rip it off, right? Same goes for press-ons. With a little patience and the right method, you can remove them without any drama.
Plus, knowing how to properly take off press-on nails helps prevent damage to your natural nails. Who wants cracked cuticles or brittle nails after rocking a fabulous set? Exactly. Let’s keep your nails healthy and happy!
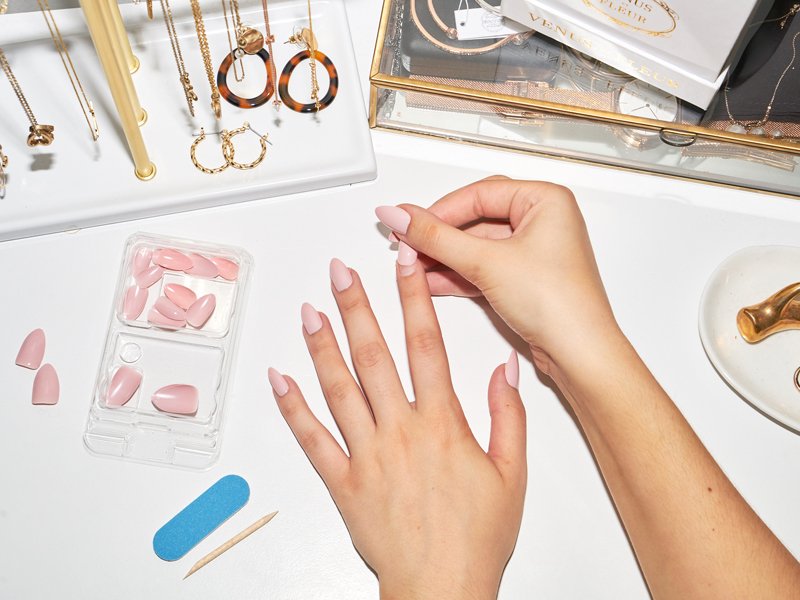
What You’ll Need: Essential Tools for Removal
Before you start, gather these must-haves to ensure a seamless removal process:
- Nail polish remover: Look for one with acetone—it’s super effective at breaking down the adhesive.
- Cotton pads: Soft and absorbent, perfect for soaking up the remover.
- Cuticle oil: This will help moisturize your nails and cuticles post-removal.
- Orange sticks or wooden cuticle sticks: Great for gently lifting the nails.
- Nail file: Use this to smooth out any rough edges after removal.
- Gloves: Acetone can dry out your skin, so protect your hands!
Pro tip: Having all your tools ready beforehand saves time and stress. Plus, it makes the whole process feel more professional. Trust me, you’ll thank yourself later.
Step-by-Step Guide: How to Take Off Press-On Nails Safely
Step 1: Prep Your Space
Find a comfy spot where you can work undisturbed. Lay down a towel or cloth to catch any spills or nail pieces. Remember, this is your me-time, so light a candle or play some music to set the mood.
Read also:Rachel Steele The Iconic Journey Of A Hollywood Sensation
Step 2: Soak Off the Adhesive
Dip a cotton pad in nail polish remover and press it gently onto the nail. Let it sit for about 5-10 minutes. This softens the glue holding the press-on in place. Don’t rush this step—it’s important for a smooth removal.
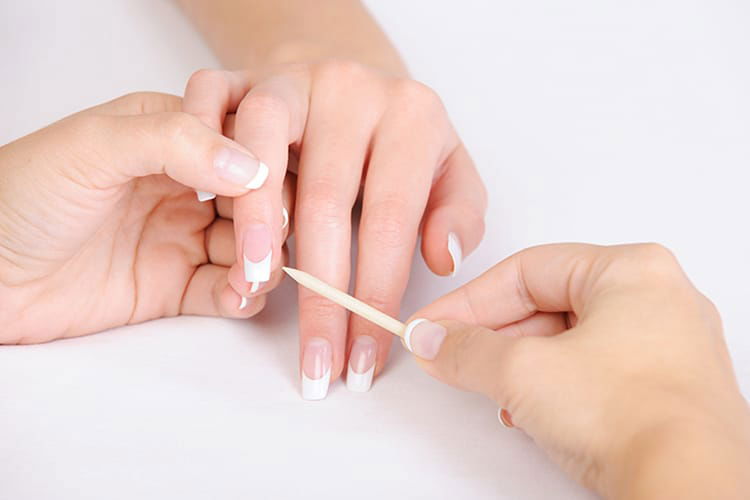
Step 3: Gently Lift the Nail
Using an orange stick, gently push under the edge of the press-on nail. Work your way around the nail until it loosens. Be patient—forcing it can lead to breakage.
Step 4: Repeat for All Nails
Move on to the next nail and repeat the process. If the glue seems stubborn, reapply the remover and let it soak for a bit longer. Patience is key here, my friend!
Step 5: Clean Up Your Nails
Once all the press-ons are off, clean your natural nails with a fresh cotton pad dipped in remover. This ensures no glue residue is left behind.
Step 6: Moisturize and Pamper
Finish off by applying cuticle oil and moisturizer to your nails and cuticles. This keeps them hydrated and healthy. Your hands will thank you!
Common Mistakes to Avoid When Removing Press-On Nails
Now that you know the steps, let’s talk about what NOT to do:
- Pulling the nails off forcefully: This can cause pain and damage to your natural nails.
- Using too much pressure: Gentle pressure is key—don’t go crazy with the orange stick.
- Skipping moisturization: After removal, your nails and cuticles need some TLC.
- Using non-acetone remover: While gentler, non-acetone removers might not dissolve the adhesive effectively.
By avoiding these common mistakes, you’ll ensure a hassle-free removal experience every time.
Tips for Maintaining Healthy Nails After Removal
Removing press-on nails is just the first step. To keep your nails in tip-top shape, follow these tips:
- Stay hydrated: Drink plenty of water to keep your nails strong and flexible.
- Eat a balanced diet: Foods rich in vitamins and minerals promote nail health.
- File regularly: Keep your nails filed to prevent breakage.
- Avoid biting: Nail-biting weakens your nails and can lead to infections.
Healthy nails start from within. Treat them right, and they’ll reward you with strength and beauty.
Can You Use Home Remedies to Remove Press-On Nails?
Short answer? Yes, but proceed with caution. Some people swear by home remedies like coconut oil or olive oil to soften the adhesive. While these methods can work, they may take longer than using acetone-based removers. If you’re in a pinch, give it a try—but don’t expect instant results.
How Long Should You Leave Press-On Nails On?
Press-on nails are designed to last anywhere from 1-3 weeks, depending on the brand and how well they’re applied. However, leaving them on for too long can weaken your natural nails. As a rule of thumb, remove them after 2-3 weeks to give your nails a break.
Remember, your nails need rest too. Overusing press-ons without proper care can lead to issues like nail lifting or fungal infections.
Expert Advice: Taking Care of Your Nails
According to dermatologists, maintaining healthy nails involves more than just removing press-ons correctly. Regular check-ups and proper hygiene practices are essential. If you notice any unusual changes in your nails, such as discoloration or thickening, consult a professional immediately.
And hey, don’t forget to love your natural nails! They’re unique and beautiful in their own way.
Alternatives to Press-On Nails
Not a fan of press-ons? No problem! There are plenty of other options to enhance your nails:
- Gel polish: Long-lasting and customizable.
- Acrylics: Strong and durable, though they require professional removal.
- Nail wraps: Easy to apply and remove, perfect for beginners.
Experiment with different methods to find what works best for you. After all, beauty is all about self-expression!
Final Thoughts: How to Take Off Press-On Nails Like a Pro
And there you have it—a comprehensive guide on how to take off press-on nails safely and effectively. By following these steps and tips, you’ll be able to remove your press-ons like a true nail expert.
So, what are you waiting for? Grab your tools and get started! And don’t forget to share your experience with us in the comments below. Your feedback helps us improve and create even better content for you.
Until next time, keep shining and keep those nails looking fabulous!
Table of Contents
- How to Take Off Press On Nails: A Step-by-Step Guide for Your Perfect Mani
- Why Knowing How to Take Off Press-On Nails Matters
- What You’ll Need: Essential Tools for Removal
- Step-by-Step Guide: How to Take Off Press-On Nails Safely
- Common Mistakes to Avoid When Removing Press-On Nails
- Tips for Maintaining Healthy Nails After Removal
- Can You Use Home Remedies to Remove Press-On Nails?
- How Long Should You Leave Press-On Nails On?
- Expert Advice: Taking Care of Your Nails
- Alternatives to Press-On Nails
Article Recommendations