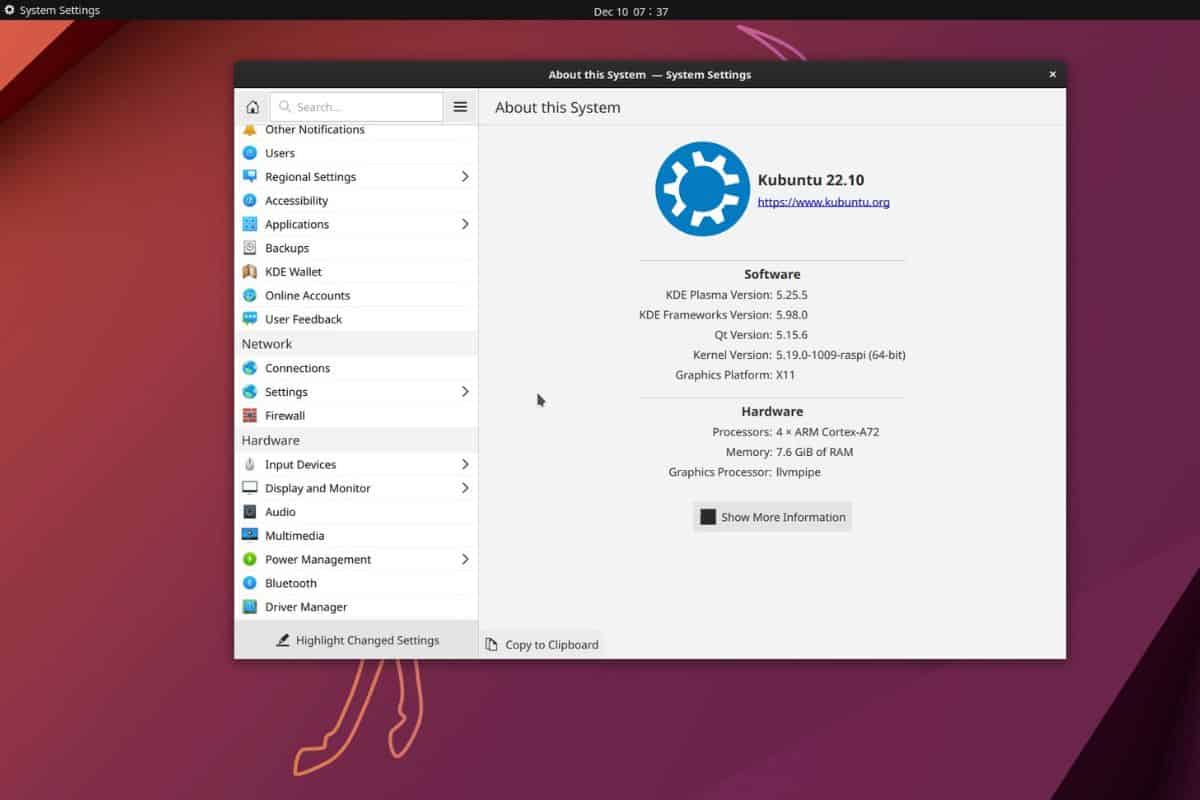
Mastering Remote SSH Raspberry Pi Behind Firewall: The Ultimate Guide For Ubuntu Server & Mac Users
Are you ready to dive into the world of remote SSH? Picture this—you're sitting comfortably at home, sipping your favorite coffee, and you want to access your Raspberry Pi from miles away. But wait! It's behind a firewall. Don’t panic! We’ve got you covered. In this article, we’ll walk you through everything you need to know about setting up remote SSH for your Raspberry Pi, especially when it’s tucked away behind a firewall. Whether you're running Ubuntu Server or using a Mac, we’ve got all the tips and tricks you need.
Remote SSH can seem like a daunting task, but once you get the hang of it, it’s as easy as pie. Think of it as giving your Raspberry Pi a virtual handshake from anywhere in the world. With just a few steps, you can unlock its full potential and access it remotely without breaking a sweat.
This guide is packed with practical advice, step-by-step instructions, and even some cool hacks to make your life easier. So, grab your favorite beverage, and let’s get started on this exciting journey of mastering remote SSH Raspberry Pi behind a firewall.
Read also:Dan Abrams The Legal Legend Redefining Justice Through Media
Table of Contents
- What is SSH?
- Setting Up Your Raspberry Pi
- Dealing with Firewall Challenges
- Configuring SSH on Ubuntu Server
- Connecting from a Mac
- Understanding Port Forwarding
- Security Best Practices
- Troubleshooting Common Issues
- Downloading Necessary Tools
- Wrapping It All Up
What is SSH?
First things first, let’s break down what SSH actually is. SSH stands for Secure Shell, and it’s basically a protocol that lets you securely connect to a remote computer or device. It’s like having a secret tunnel that only you can use to access your Raspberry Pi, even if it’s behind a firewall. Cool, right?
SSH is super important because it encrypts all the data that flows between your local machine and the remote device. This means no one can snoop on your activity or steal sensitive information. It’s like putting a lock on your digital front door.
Why Use SSH for Raspberry Pi?
Using SSH for your Raspberry Pi opens up a whole new world of possibilities. You can control your Pi from anywhere, monitor its performance, and even run scripts remotely. Whether you’re setting up a home server, running a media center, or building a smart home system, SSH is your best friend.
Setting Up Your Raspberry Pi
Alright, let’s get down to business. Before you can start playing around with remote SSH, you need to set up your Raspberry Pi properly. Here’s a quick rundown of what you need to do:
- Install the latest version of Raspberry Pi OS on your Pi.
- Enable SSH in the Raspberry Pi Configuration tool.
- Make sure your Pi is connected to the internet.
Once you’ve done all that, you’re ready to move on to the next step. But hey, don’t rush it! Take your time and double-check everything to avoid any hiccups later on.
Dealing with Firewall Challenges
Now, here’s the tricky part. Firewalls are designed to block unauthorized access, which is great for security but not so great when you want to access your Raspberry Pi remotely. But don’t worry, there are ways to work around this.
Read also:Albie Manzo Law School Your Gateway To Legal Excellence
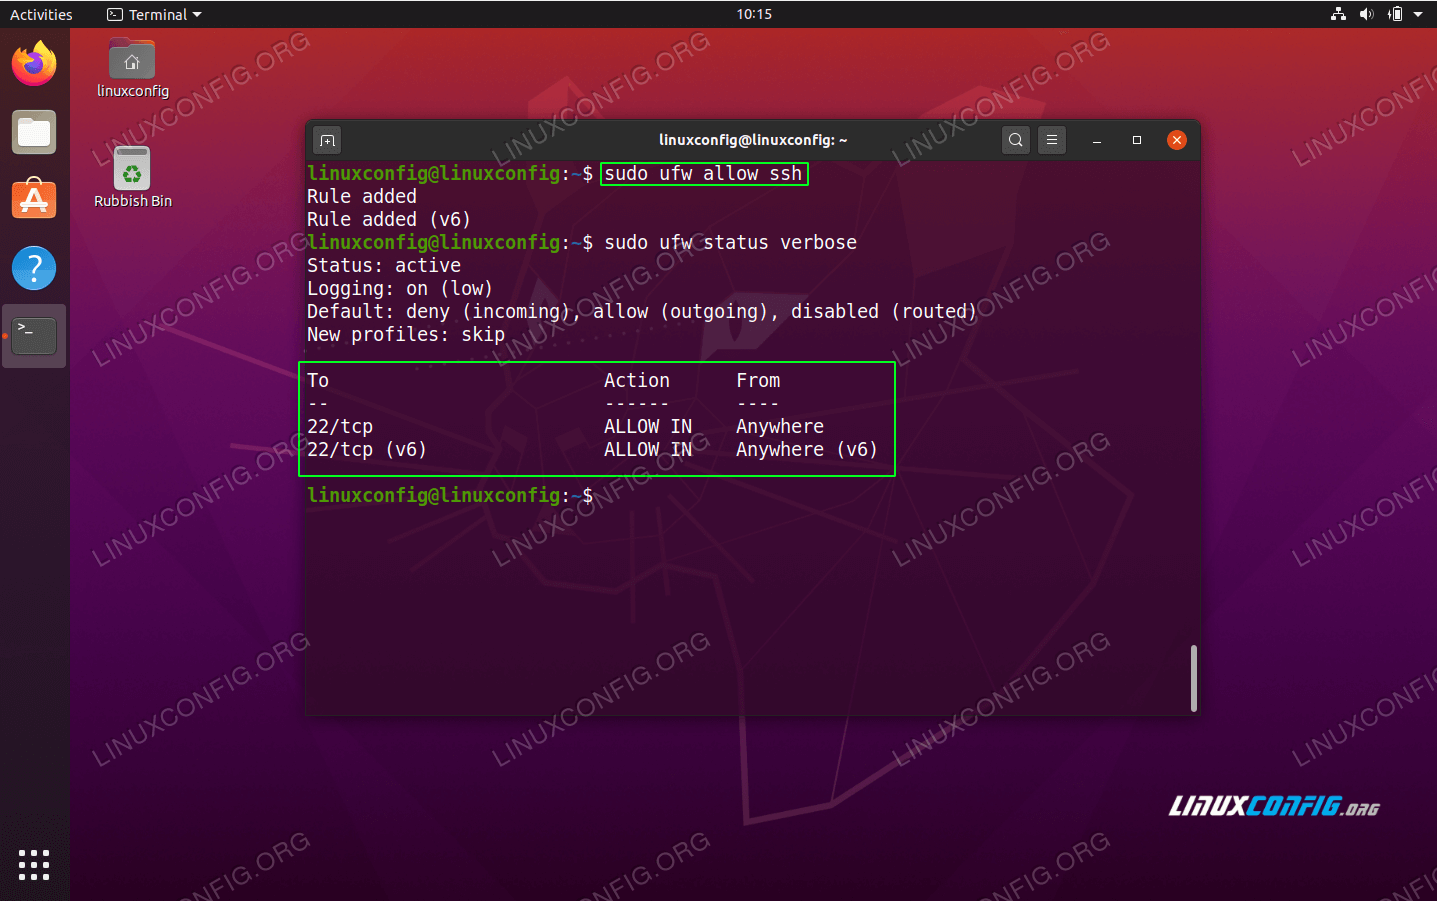
One of the most common methods is port forwarding. This involves configuring your router to allow traffic through specific ports, like the default SSH port (22). We’ll dive deeper into this in the next section, but for now, just know that it’s totally doable.
Other Firewall Workarounds
Aside from port forwarding, you can also use tools like ngrok or reverse SSH tunnels to bypass firewalls. These methods might sound complicated, but with a bit of practice, you’ll get the hang of them in no time.
Configuring SSH on Ubuntu Server
If you’re running Ubuntu Server, setting up SSH is a breeze. First, make sure the SSH server is installed by running:
sudo apt update && sudo apt install openssh-server
Then, check if the SSH service is running:
sudo systemctl status ssh
If it’s not running, start it up with:
sudo systemctl start ssh
And that’s it! Your Ubuntu Server is now ready to accept SSH connections. Easy peasy, right?
Connecting from a Mac
Connecting to your Raspberry Pi from a Mac is just as simple. All you need is the Terminal app, which comes pre-installed on every Mac. Here’s how you do it:
- Open the Terminal app on your Mac.
- Type in the command: ssh pi@your-pi-ip-address.
- Enter your Raspberry Pi’s password when prompted.
Boom! You’re now connected to your Raspberry Pi from your Mac. It’s like magic, but better because it actually works.
Tips for Mac Users
Here are a few tips to make your life easier when connecting from a Mac:
- Use SSH keys for passwordless authentication.
- Set up an SSH config file to save your connection details.
- Use tools like iTerm2 for a more polished terminal experience.
Understanding Port Forwarding
Port forwarding is one of the most effective ways to access your Raspberry Pi behind a firewall. Essentially, it involves telling your router to direct incoming traffic on a specific port to your Raspberry Pi’s local IP address.
To set this up, you’ll need to log into your router’s admin interface and find the port forwarding settings. From there, you can specify the port number and the local IP address of your Raspberry Pi.
Common Port Forwarding Issues
Even though port forwarding is a great solution, it can sometimes be a bit finicky. Here are a few common issues you might encounter:
- Your router doesn’t support port forwarding.
- Your ISP blocks certain ports.
- Your Raspberry Pi’s IP address changes.
Don’t worry if you run into any of these problems. There are always workarounds, and we’ll cover them in the troubleshooting section.
Security Best Practices
Now that you’ve got everything set up, it’s time to talk about security. Remote SSH can be a powerful tool, but it can also be a potential vulnerability if not handled properly. Here are some tips to keep your setup secure:
- Change the default SSH port to something less obvious.
- Use strong passwords or SSH keys for authentication.
- Enable two-factor authentication (2FA) if possible.
By following these simple steps, you can rest assured that your Raspberry Pi is as secure as Fort Knox.
Troubleshooting Common Issues
Even the best-laid plans can sometimes go awry. If you’re having trouble with your remote SSH setup, don’t panic. Here are some common issues and how to fix them:
- Connection Refused: Check your firewall settings and make sure the correct ports are open.
- Timeout Errors: Verify your Raspberry Pi’s IP address and ensure it’s connected to the internet.
- Authentication Failed: Double-check your username and password, or regenerate your SSH keys.
Still stuck? Feel free to reach out to the Raspberry Pi community or check out online forums for additional help.
Downloading Necessary Tools
To make your remote SSH experience as smooth as possible, you might want to download a few tools. Here are some recommendations:
- Putty: A popular SSH client for Windows users.
- ngrok: A handy tool for creating temporary SSH tunnels.
- FileZilla: For transferring files between your local machine and Raspberry Pi.
These tools can save you a ton of time and effort, so don’t hesitate to give them a try.
Wrapping It All Up
And there you have it—everything you need to know about remote SSH Raspberry Pi behind a firewall. From setting up your Raspberry Pi to configuring Ubuntu Server and connecting from a Mac, we’ve covered it all. Remember to always prioritize security and don’t be afraid to experiment with different tools and techniques.
Now it’s your turn! Take what you’ve learned and start exploring the world of remote SSH. Whether you’re building a home automation system or running a web server, your Raspberry Pi is ready to take on the challenge.
Don’t forget to leave a comment below and let us know how your remote SSH journey is going. And if you found this article helpful, feel free to share it with your friends and fellow tech enthusiasts. Happy hacking!
Article Recommendations