Mastering Remote SSH Raspberry Pi Behind Firewall On Ubuntu Server And Mac
Ever wondered how to remotely access your Raspberry Pi behind a firewall using SSH? Well, you're not alone. Many tech enthusiasts and professionals face this challenge daily. Whether you're setting up home servers, automating tasks, or managing IoT devices, remote SSH access is a game-changer. But here's the catch: firewalls can make it tricky. Don't worry—we've got you covered with this ultimate guide!
Accessing your Raspberry Pi remotely over SSH might sound intimidating at first, especially when dealing with firewalls and complex network setups. However, with the right tools and configurations, it's easier than you think. This guide will walk you through every step, ensuring you can securely connect to your Pi from anywhere using Ubuntu Server and Mac.
Whether you're a beginner or an advanced user, this article will provide practical tips and tricks to make your life easier. So grab a coffee, sit back, and let's dive into the world of SSH and Raspberry Pi magic!
Read also:Ross Lynch And Jaz Sinclair Engaged The Ultimate Guide To Their Love Story
Understanding SSH and Why It Matters
SSH, or Secure Shell, is like a secret passageway that allows you to remotely control another computer securely. Think of it as a secure tunnel between your device and the Raspberry Pi, where all communication is encrypted. This makes SSH a go-to tool for managing servers, troubleshooting issues, and even running scripts.
But why does SSH matter so much? In today's interconnected world, having remote access to your devices is essential. Whether you're working on a project, monitoring your home network, or managing cloud services, SSH provides the flexibility and security you need. Plus, it works flawlessly across different operating systems, including Ubuntu Server and Mac.
SSH Basics: How It Works
Here's a quick breakdown of how SSH works:
- SSH establishes a secure connection between two devices.
- Data transferred through SSH is encrypted, ensuring privacy and security.
- Authentication methods, such as passwords or SSH keys, verify your identity.
- Once connected, you can execute commands, transfer files, and manage your device remotely.
Now that we've covered the basics, let's move on to the main challenge: accessing your Raspberry Pi behind a firewall.
Setting Up Your Raspberry Pi for Remote SSH
Before we tackle the firewall issue, it's crucial to set up your Raspberry Pi correctly. This involves enabling SSH, configuring the network, and ensuring everything is up to date. Follow these steps to get started:
Step 1: Enabling SSH on Your Raspberry Pi
Enabling SSH on your Raspberry Pi is a breeze. Here's what you need to do:
Read also:Tanja Rosner Age Unveiling The Life And Legacy Of A Remarkable Woman
- Boot up your Raspberry Pi and log in.
- Open the terminal and type
sudo raspi-config. - Select "Interfacing Options" and navigate to "SSH".
- Choose "Enable" and reboot your Pi to apply the changes.
That's it! SSH is now enabled on your Raspberry Pi. But wait—there's more. To ensure secure access, consider generating SSH keys instead of using passwords. This adds an extra layer of protection and eliminates the risk of brute-force attacks.
Step 2: Configuring the Network
Next, you'll need to configure your network settings. This involves finding your Raspberry Pi's IP address and ensuring it has a static address. Here's how:
- Run
ifconfigin the terminal to find your IP address. - Edit the network configuration file (
/etc/dhcpcd.conf) to assign a static IP. - Restart the networking service with
sudo service networking restart.
With these steps, your Raspberry Pi is ready to accept SSH connections. Now, let's deal with that pesky firewall.
Dealing with Firewalls: The Real Challenge
Firewalls are designed to protect your network from unauthorized access, but they can also block legitimate connections. To access your Raspberry Pi remotely, you'll need to configure your firewall settings carefully. Here's how:
Understanding Firewalls
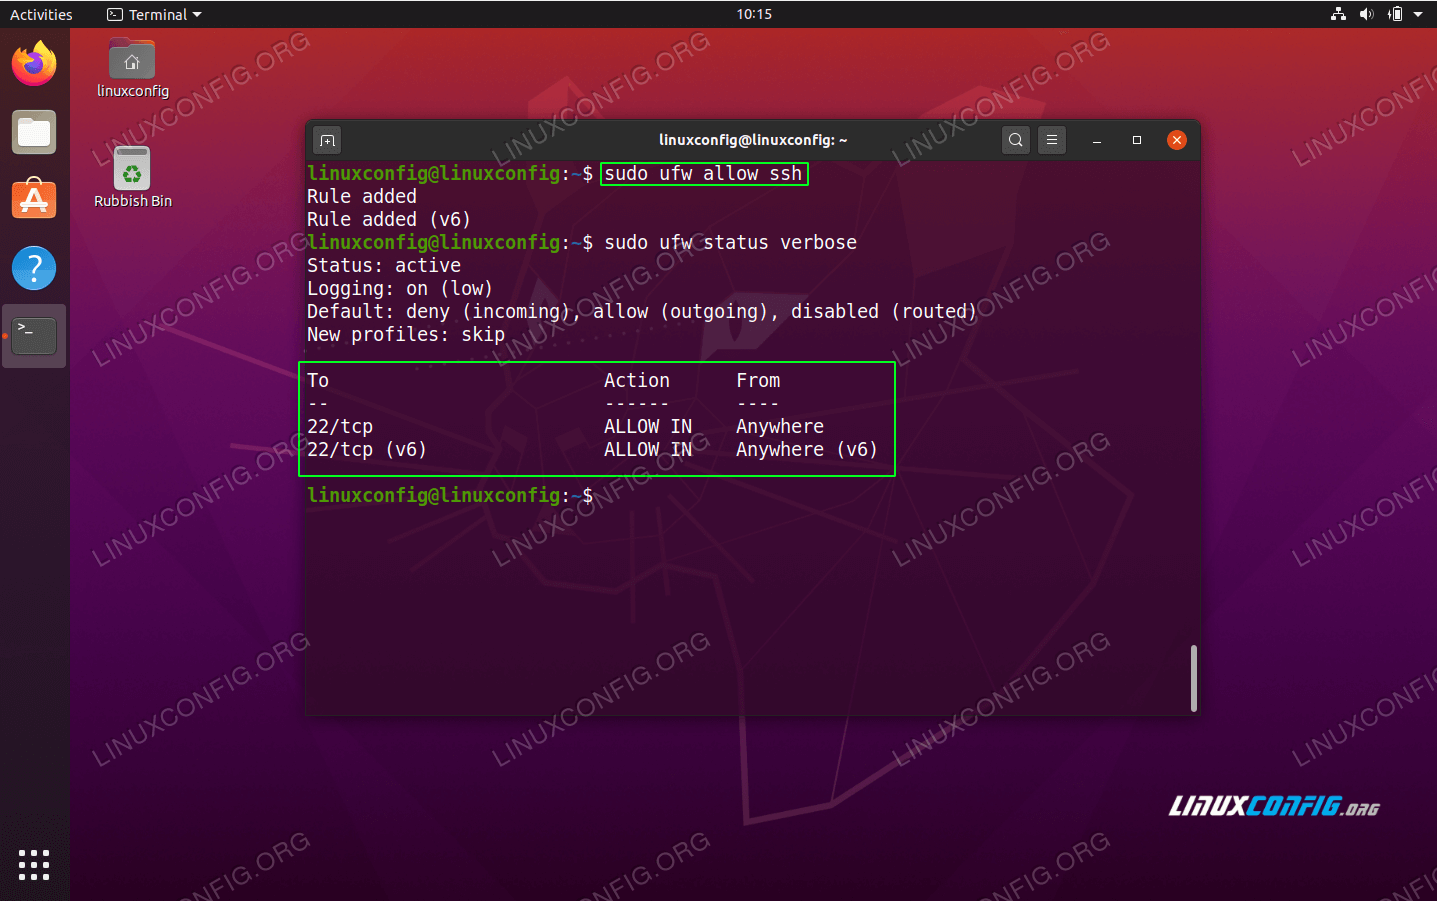
A firewall acts as a gatekeeper, monitoring incoming and outgoing traffic. It uses rules to decide which connections to allow or block. For SSH, you'll need to create a rule that permits traffic on port 22 (the default SSH port).
Configuring Your Router's Firewall
Most home networks use a router with built-in firewall capabilities. Here's how to configure it:
- Log in to your router's admin interface (usually via a web browser).
- Locate the firewall or security settings section.
- Create a new rule allowing traffic on port 22 to your Raspberry Pi's IP address.
- Save the changes and restart the router if necessary.
If your router supports port forwarding, consider using it to direct SSH traffic directly to your Raspberry Pi. This ensures smooth and secure connections.
Connecting from Ubuntu Server
Now that your Raspberry Pi is ready, let's connect to it from an Ubuntu Server. Here's a step-by-step guide:
Step 1: Install SSH Client
Ubuntu Server comes with SSH pre-installed, but it's always a good idea to double-check:
- Run
sudo apt update && sudo apt install sshto ensure SSH is installed. - Verify installation with
ssh -V.
Step 2: Establishing the Connection
Connecting to your Raspberry Pi is as simple as running a single command:
- Open the terminal and type
ssh pi@YOUR_PI_IP. - Enter your Raspberry Pi's password when prompted.
- You're now connected and ready to manage your Pi remotely!
For added security, consider using SSH keys instead of passwords. This eliminates the need to enter credentials every time and reduces the risk of unauthorized access.
Connecting from Mac
Connecting to your Raspberry Pi from a Mac is just as easy. macOS comes with SSH pre-installed, so you're good to go:
Step 1: Open Terminal
Locate the Terminal app in your Applications > Utilities folder or use Spotlight to search for it.
Step 2: Connect to Your Raspberry Pi
Run the following command in the terminal:
ssh pi@YOUR_PI_IP- Enter your Raspberry Pi's password when prompted.
That's it! You're now connected to your Raspberry Pi from your Mac. Just like with Ubuntu, consider using SSH keys for enhanced security.
Advanced Techniques: Going Beyond the Basics
Once you've mastered the basics, it's time to explore some advanced techniques. These will help you optimize your SSH setup and make remote access even more efficient.
Using SSH Keys for Secure Authentication
SSH keys provide a secure and convenient way to authenticate without passwords. Here's how to set them up:
- Generate a key pair on your client machine with
ssh-keygen. - Copy the public key to your Raspberry Pi using
ssh-copy-id pi@YOUR_PI_IP. - Test the connection by running
ssh pi@YOUR_PI_IPwithout entering a password.
SSH keys not only enhance security but also save you time by eliminating the need for repetitive password entry.
Setting Up a Dynamic DNS Service
If your internet provider assigns a dynamic IP address, connecting to your Raspberry Pi can be challenging. A Dynamic DNS (DDNS) service solves this problem by mapping your changing IP to a static domain name. Here's how:
- Sign up for a DDNS service like No-IP or DuckDNS.
- Follow the service's instructions to configure your Raspberry Pi.
- Use the assigned domain name to connect to your Pi instead of the IP address.
With DDNS, you'll never lose track of your Raspberry Pi's IP, even if it changes.
Best Practices for Secure SSH Access
Security should always be a top priority when setting up remote access. Here are some best practices to keep your Raspberry Pi safe:
- Change the default SSH port (22) to a non-standard port to deter attackers.
- Disable password authentication and rely solely on SSH keys.
- Limit access to specific IP addresses using firewall rules.
- Regularly update your Raspberry Pi's software to patch vulnerabilities.
By following these guidelines, you'll significantly reduce the risk of unauthorized access and ensure your data remains secure.
Common Issues and Troubleshooting
Even with the best setup, issues can arise. Here are some common problems and how to fix them:
Connection Refused
If you receive a "Connection refused" error, check the following:
- Ensure SSH is enabled on your Raspberry Pi.
- Verify the IP address and port number are correct.
- Check your firewall settings to ensure port 22 is open.
Permission Denied
A "Permission denied" error usually indicates authentication issues. Try these solutions:
- Double-check your password or SSH key.
- Ensure the correct user account is being used.
- Verify the Raspberry Pi's SSH configuration file (
/etc/ssh/sshd_config) allows password or key-based authentication.
By addressing these issues systematically, you'll quickly resolve most connection problems.
Conclusion: Take Control of Your Raspberry Pi
Remote SSH access to your Raspberry Pi behind a firewall is no longer a daunting task. With the right setup and configuration, you can securely manage your device from anywhere. Whether you're using Ubuntu Server or Mac, the process is straightforward and rewarding.
So, what are you waiting for? Start experimenting with SSH today and unlock the full potential of your Raspberry Pi. Don't forget to share your experiences in the comments below and explore more tutorials on our website. Happy tinkering!
Table of Contents
- Understanding SSH and Why It Matters
- Setting Up Your Raspberry Pi for Remote SSH
- Dealing with Firewalls: The Real Challenge
- Connecting from Ubuntu Server
- Connecting from Mac
- Advanced Techniques: Going Beyond the Basics
- Best Practices for Secure SSH Access
- Common Issues and Troubleshooting
- Conclusion: Take Control of Your Raspberry Pi
Article Recommendations