Mastering Remote SSH On Raspberry Pi Behind Firewall With Ubuntu Server And Mac For Free
Hey there, tech enthusiasts and digital nomads! If you're reading this, chances are you're diving headfirst into the world of remote server management, Raspberry Pi tinkering, or maybe just trying to level up your home lab setup. Today, we're going to tackle the art of setting up remote SSH on a Raspberry Pi behind a firewall using Ubuntu Server, all while connecting from a Mac—and the best part? It's absolutely free! So, buckle up, because we're about to make some serious tech magic happen.
You might be wondering why SSH is such a big deal. Well, let me tell you, SSH (Secure Shell) is basically your golden ticket to accessing and managing remote devices securely. Whether you're a sysadmin, a developer, or just someone who loves to tinker with gadgets, mastering SSH can open doors to endless possibilities. And when you're dealing with a Raspberry Pi tucked away behind a firewall, knowing how to set everything up right can save you a ton of headaches down the line.
In this guide, we'll walk you through every step of the process, from setting up your Raspberry Pi with Ubuntu Server to configuring your Mac for seamless SSH connections. We’ll also touch on some common pitfalls and how to avoid them. By the end of this article, you'll have everything you need to connect to your Pi remotely, no matter where you are in the world. Let’s get started!
Read also:Is Blanc And Eacuteclat Successful Discover The Rise Of A Beauty Empire
Table of Contents:
- Biography (Raspberry Pi Specs)
- Understanding SSH
- Raspberry Pi Setup with Ubuntu Server
- Configuring Your Firewall
- Connecting from a Mac
- Port Forwarding Explained
- Security Tips for SSH
- Troubleshooting Common Issues
- Alternatives to SSH
- Conclusion
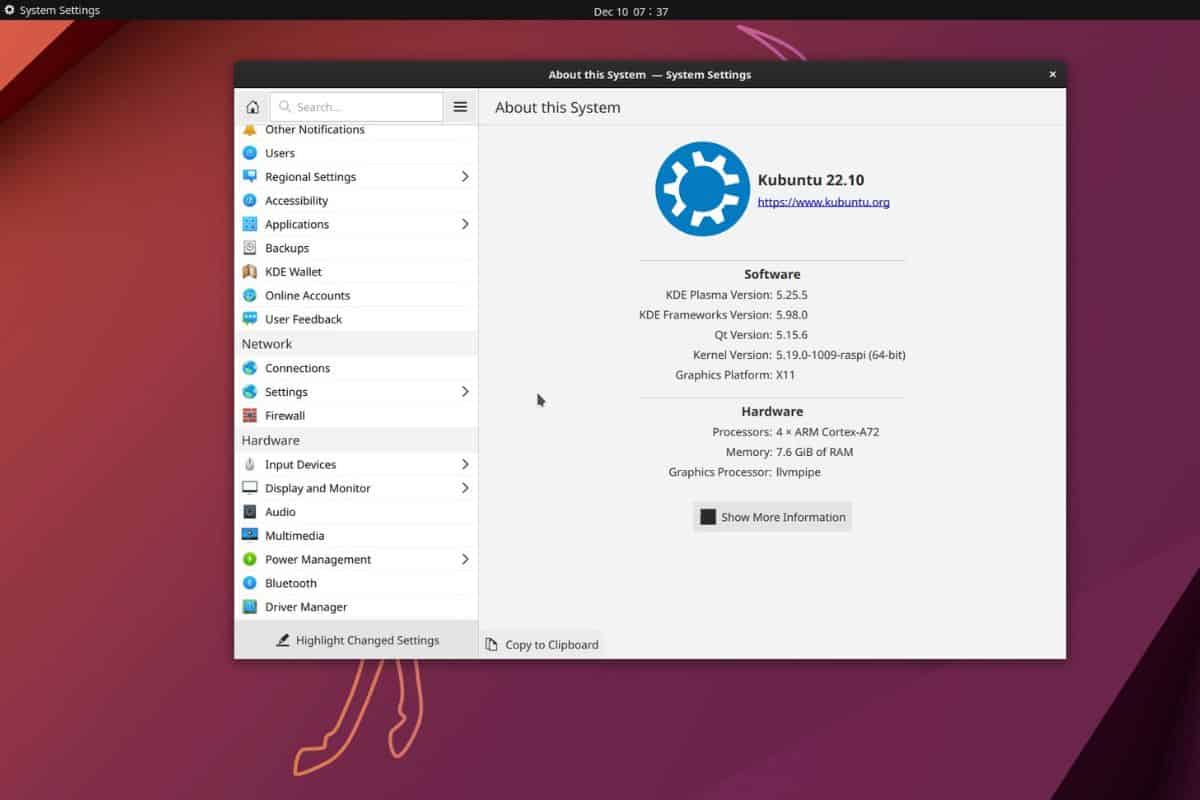
Biography: Raspberry Pi Specs
Before we dive into the nitty-gritty of SSH, let's take a quick look at our star player: the Raspberry Pi. Below is a table summarizing the key specs of the Raspberry Pi 4 Model B, which we'll be using for this guide.
| Spec | Details |
|---|---|
| Model | Raspberry Pi 4 Model B |
| CPU | 1.5GHz Quad-Core ARM Cortex-A72 |
| RAM | 4GB LPDDR4 |
| Storage | MicroSD Card |
| Operating System | Ubuntu Server 22.04 LTS |
Understanding SSH
SSH, or Secure Shell, is a cryptographic protocol that allows you to securely access and manage remote devices over an unsecured network. It's like having a secret tunnel that only you and your device can use. With SSH, you can execute commands, transfer files, and even run graphical applications—all from the comfort of your own computer.
One of the coolest things about SSH is that it’s not limited to just one operating system. You can SSH into a Linux machine from a Mac, a Windows PC, or even another Raspberry Pi. This versatility makes it an indispensable tool for anyone working with remote systems.
Why Use SSH?
- Secure communication between devices
- Remote command execution
- File transfer using SCP or SFTP
- Access to headless devices
Raspberry Pi Setup with Ubuntu Server
Alright, let’s get our hands dirty and set up your Raspberry Pi with Ubuntu Server. This is the foundation of our entire setup, so pay close attention!
Step 1: Install Ubuntu Server
First things first, download the latest version of Ubuntu Server for Raspberry Pi from the official website. Once you’ve got the image, use a tool like Balena Etcher to flash it onto your microSD card. Don’t forget to enable SSH by creating an empty file named "ssh" in the boot partition.
Read also:Who Plays Sheldons Brother In Young Sheldon Discover The Reallife Talent Behind Georgie Cooper
Step 2: Connect to Your Network
After booting up your Pi, connect it to your local network using an Ethernet cable or Wi-Fi. If you’re using Wi-Fi, you’ll need to edit the wpa_supplicant.conf file to add your network credentials.
Step 3: Update Your System
Run the following commands to update your system and install essential packages:
sudo apt update && sudo apt upgrade -y
sudo apt install openssh-server -y
Configuring Your Firewall
Now that your Raspberry Pi is up and running, it’s time to deal with the firewall. Firewalls are great for keeping unwanted traffic out, but they can also block legitimate connections if not configured properly. Here’s how you can open the necessary ports for SSH.
Step 1: Check Your Firewall Rules
Use the following command to check your current firewall rules:
sudo ufw status
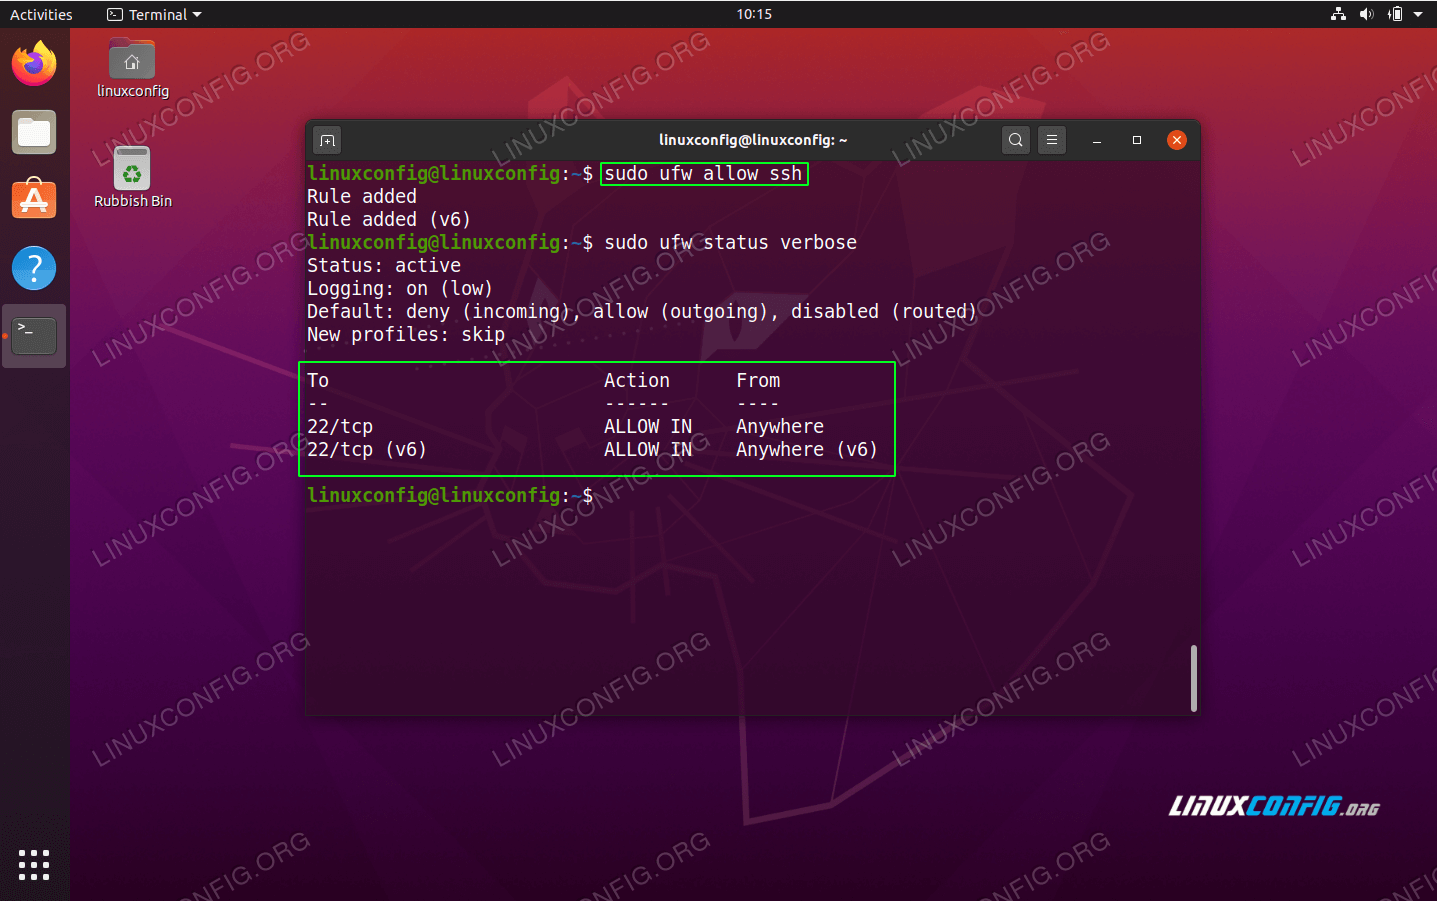
Step 2: Allow SSH Traffic
To allow SSH traffic, run:
sudo ufw allow ssh
sudo ufw enable
Connecting from a Mac
With your Raspberry Pi all set up, it’s time to connect from your Mac. This part is super easy, thanks to macOS’s built-in SSH client.
Step 1: Find Your Pi’s IP Address
Use a tool like Advanced IP Scanner or simply check your router’s admin page to find your Pi’s local IP address.
Step 2: Open Terminal
Fire up Terminal on your Mac and type the following command, replacing "pi" with your Pi’s username and "192.168.x.x" with its IP address:
ssh pi@192.168.x.x
Step 3: Enter Your Password
When prompted, enter your Pi’s password. That’s it! You’re now connected to your Raspberry Pi via SSH.
Port Forwarding Explained
If you want to access your Pi from outside your local network, you’ll need to set up port forwarding on your router. This process involves mapping an external port to your Pi’s internal IP address.
Step 1: Log in to Your Router
Open a web browser and enter your router’s IP address. Log in using your admin credentials.
Step 2: Configure Port Forwarding
Find the port forwarding section and add a new rule. Use port 22 for SSH and point it to your Pi’s local IP address.
Security Tips for SSH
Security should always be a top priority when working with remote systems. Here are a few tips to keep your SSH setup secure:
- Change the default SSH port to something less obvious
- Use strong, unique passwords or SSH keys
- Disable root login via SSH
- Set up a firewall to block unwanted traffic
Troubleshooting Common Issues
Even the best-laid plans can go awry sometimes. Here are a few common issues you might encounter and how to fix them:
Issue 1: Connection Refused
This usually happens when the SSH service isn’t running. Make sure SSH is installed and enabled on your Pi.
Issue 2: Permission Denied
This often means you’re using the wrong username or password. Double-check your credentials and try again.
Alternatives to SSH
While SSH is the go-to tool for remote access, there are other options worth exploring:
- VNC for graphical remote desktop access
- TeamViewer for cross-platform remote control
- WireGuard for secure VPN connections
Conclusion
And there you have it, folks! You now know how to set up remote SSH on a Raspberry Pi behind a firewall using Ubuntu Server and connect from a Mac—all for free. Whether you’re managing a home server, running a media center, or just experimenting with new tech, SSH is an invaluable skill to have in your arsenal.
So, what are you waiting for? Grab your Raspberry Pi, fire up your Mac, and start exploring the world of remote computing. And don’t forget to share your experiences in the comments below. Who knows, you might just inspire someone else to take the plunge!
Article Recommendations